Tag: windows
-
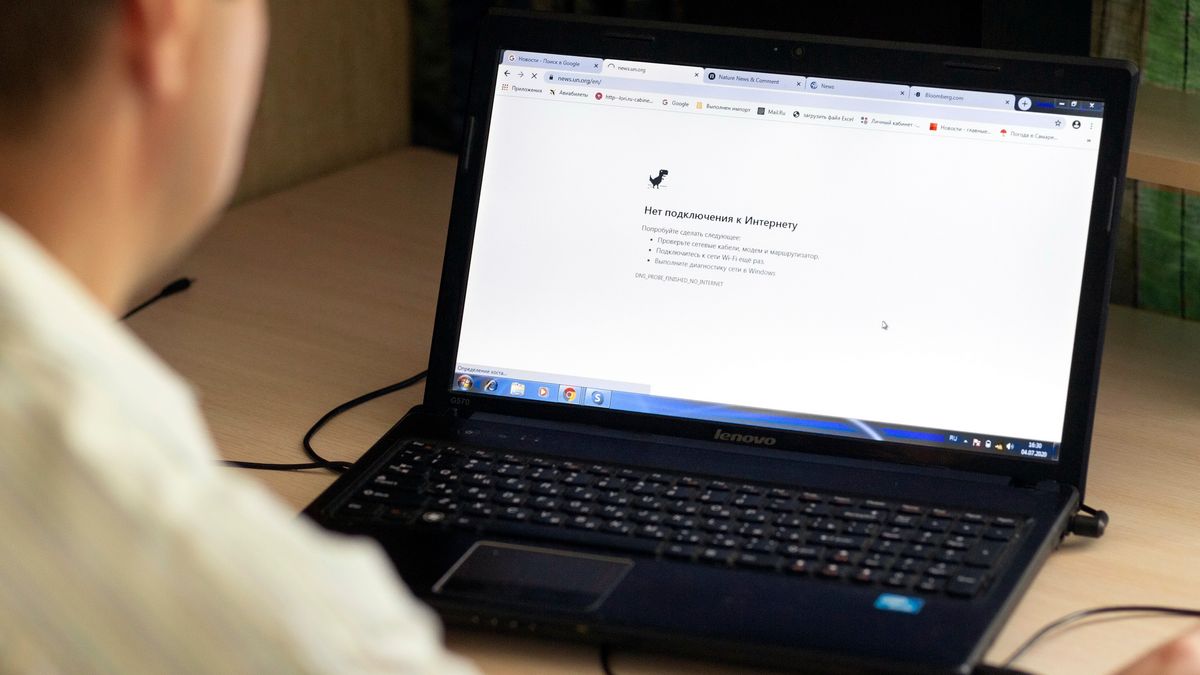
How to Troubleshoot Windows Network Connections
Without a working Internet connection, most Windows devices really can’t work the way they should, nor allow users to function completely or well. That makes fixing network issues extremely important. Here’s how to get that done. Arguably, Windows without a working network connection isn’t really worth much. That’s because access to email, social media, the…
-

Here’s How to Find All Your Wi-Fi Passwords on Your Mac and Windows
You should never use the same password more than once, but using so many different passwords can make it difficult to remember all of them. If you don’t write them down somewhere, you may never remember certain passwords again, including the one for your Wi-Fi network. Usually your Wi-Fi password should be printed on the…
-

Slow net pace on Home windows 11? Below are 5 approaches to correct it for fantastic…
A gradual web speed on your Windows Computer is much more than adequate to break your workflow. Regular buffering or even connectivity drops in concerning will irk the most affected individual of Home windows buyers. Fortunately, even if the Home windows operating process is rife with random bugs like these, it packs a whole lot…
-
Where to Find All Those Saved Wi-Fi Passwords on Your Mac or Windows
After setting up your home Wi-Fi network, you probably don’t give much thought to the password because your laptop, phone and other devices are all now connected. And then one day your friend or family member comes over and wants access to your Wi-Fi, but you don’t remember your password — and you didn’t write…
-

How to transfer pics from Apple iphone to a Windows personal computer
You may consider it really is additional difficult to transfer pictures from Apple iphone to a Home windows laptop than to a Mac, and you’d technically be correct. But that would not signify it really is not possible — in reality significantly from it. We’ve all viewed the smug confront Apple buyers pull when they…
-
How to Convert a WEBP File to JPG on Windows or Mac
The WEBP file structure is a somewhat new way to display screen illustrations or photos on the net. The structure was made by Google as a contemporary, remarkably efficient structure to display screen high-quality photographs on the world wide web at a portion of the measurement of JPG and PNG pictures. It really is new…